
This is a good time to go drill the body axle holes. Drill the back axles with 3 degree cant with the top up. Then drill the DFW and lifted wheel axle holes where you want. make a pencil mark to let you know top of wood. These instructions are for a right side wheel touching and steering the car, and the left side just high enough to not touch the track.


We will be attaching our weights with 3M VHB tape.
This tape has unbelievable strength when taping metal to metal. For that reason we now put down a layer of aluminum tape that starts with a little overlap on the bottom, and continues around the back of the wood and across a few inches on the top. Place the tape and smooth it out with finger pressure to stick it everywhere. Be sure to stick it firmly to the back edge.


Next we place the 3M Tape on the weights. Remove some 3M tape and place the edge of the big bar square to two sides and press down.

Trim off the tape over the edges and place those on the packet of bottom weights. Be sure to get the packet oriented the way you see it here. We want the side with 4 plates to be sticking out over the top wood and making a ledge for the 0.5″ bar to tape to. You also see we have placed and trimmed 3M tape to the back four plates where the bar will go.
Weight packet example. The wood body is now turned TOP down, we will be taping the plates packet to the top of the body, but to align, it is easier to turn the body over and slowly move it into place.

Now we have removed all the tape covering and are ready to place the weighs.

The first step it to place the bar across the four plates and try to keep them all square and place the bar tape side to the inside so it can later stick to the back of the wood plank.

So now we see it all together. The big bar and the 6 plates are positioned off-center to the top edge of the body on the side where the Dominant Front Wheel will be. Now carefully pick up the body and place it down onto the weights so that the bar is flush on the bottom and sticking to the back of the wood.
We have turned the body around to see the side where the bar is flush and also the plates are putting more weight to the DFW side.

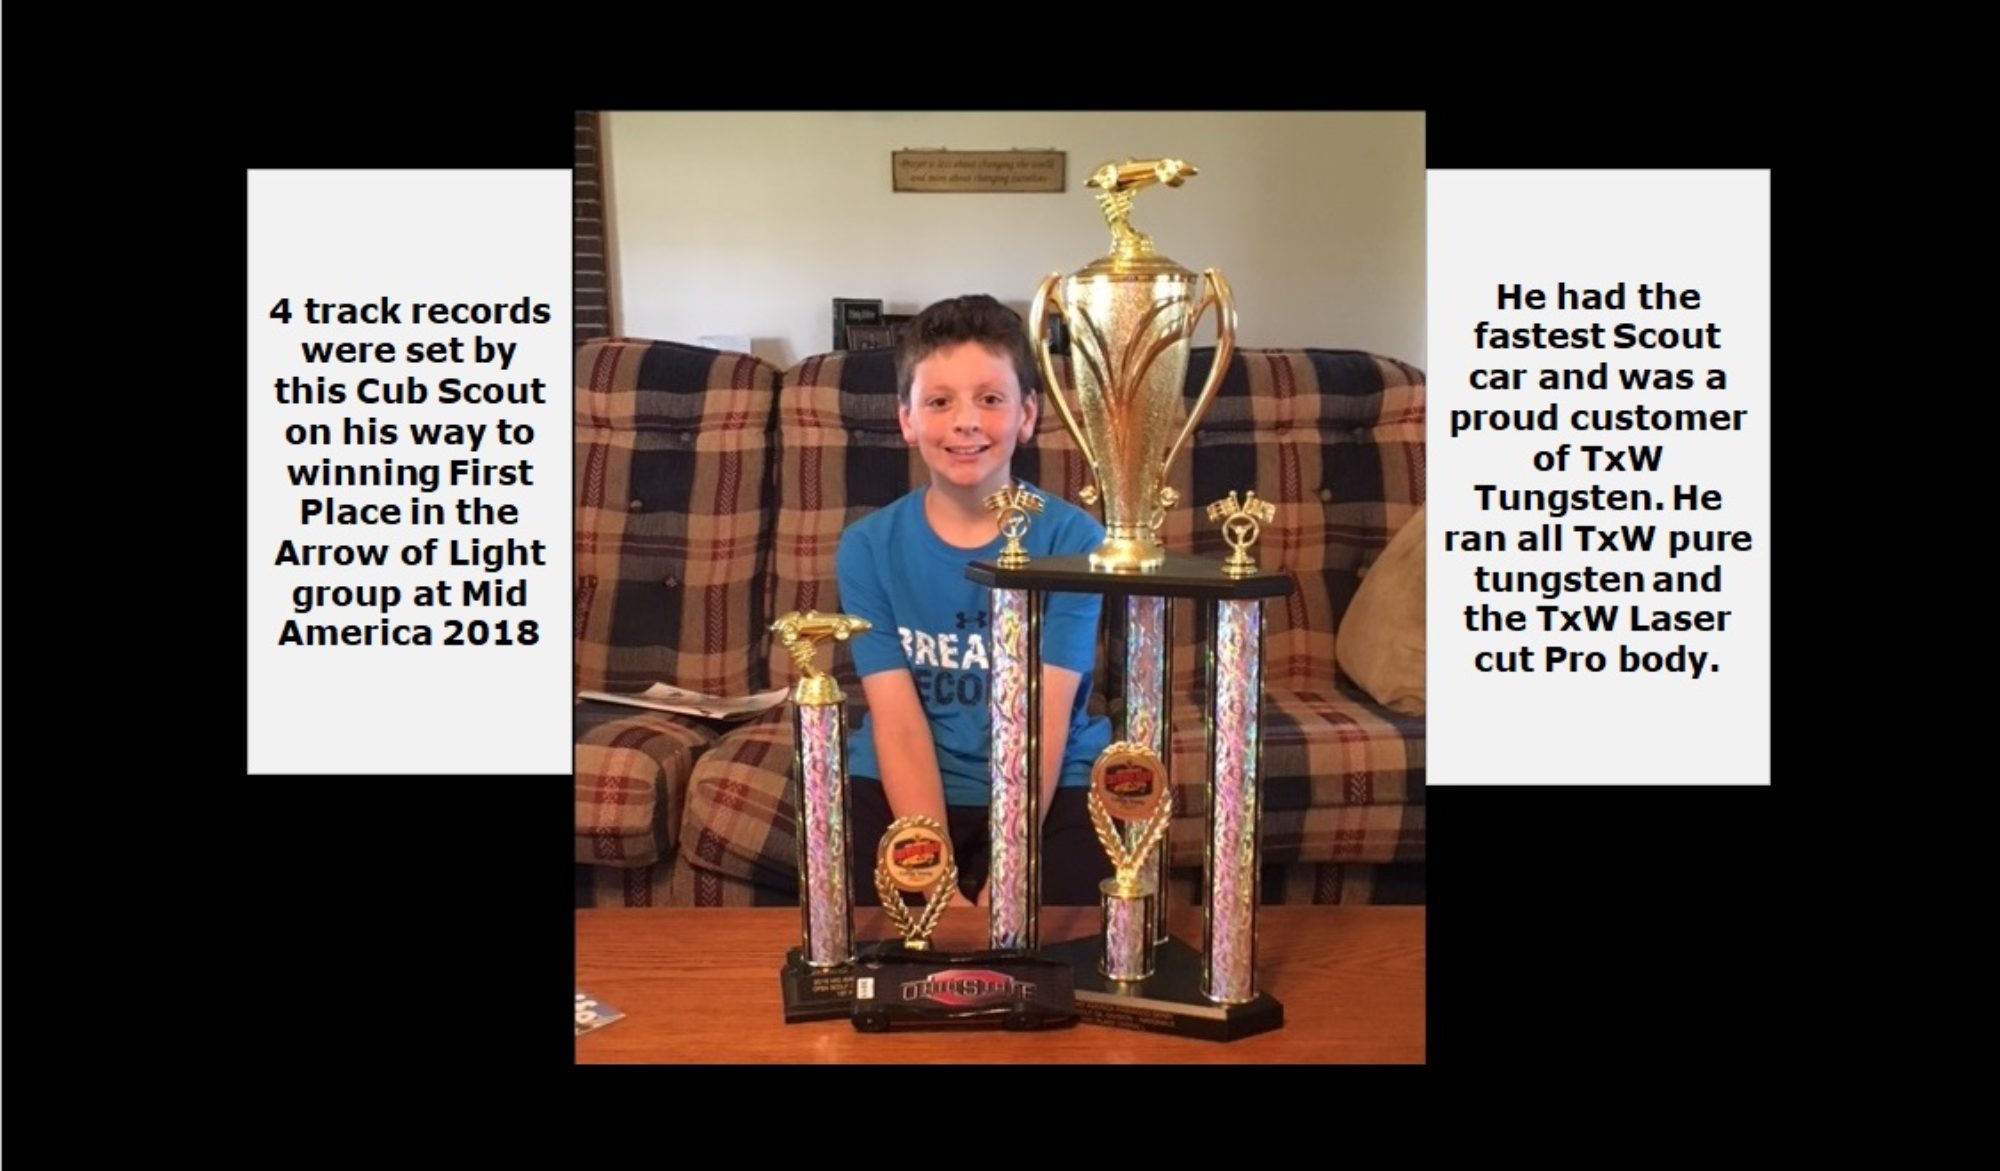
TxW was the first person to move the location of the weights behind the axle to this off-center position in order to balance the weight on the back two wheels. This year, the majority of the Pro racers setting track records are following this idea. When you do this to your car, you will have the absolute superior Center of Gravity, Control on the DFW, and balance on the back wheels. This technically will beat ALL other car designs you can buy. There are a few Pro cars that go up for sale, typically over the $250 level. Some of them may be faster, but most Pro cars will not be robust enough to last through the typical “Scout” track, stop section, and handling in a race.
A slightly better plate layout is now used.
This car is both fast and robust.

It puts an astonishing 2.75 oz of tungsten behind the back axle while keeping around 17 grams on the DFW for stability.
View of the side of the car. Plates are on top and wood blanks are added to make a rectangular package( and make a clear photo). You can add your own wood if you want, cover all with vinyl, or simply put some scotch tape over the small step to cut down wind resistance.

NO other car on the market can give you the same balance. Just put two scales under the back wheels and measure the load while supporting the front on the DFW of what you have now to see the difference.
Sand the nose to a fine line. The easiest is to remove material from the bottom.
Before you remove any wood, the nose will weigh around 21 grams if you have done the weights correctly. You can take the nose down to a 17-18 gram weight for wood track no wiggles, and down to 13-16 grams for metal tracks.
If you take off that much wood, you might need to add another more weight to bring the weight up. Just use a bit of tape and add the weight where you want on the top of the car. Plates on the bottom are fine for metal tracks, but we cannot be sure about the condition of the wood tracks still in use so we put the weight plates on top.
You also want to remove a little wood next to the DFW so when it rides the rail, the back two wheels will be equally spaced away from the rail. Depending on your process, this is usually 1/16″, and the kerf of many saw blades will be just right.